Woocommerce allows you to receive online payments with the provider that is right for you. Let’s see how to enable Woocommerce on Homey in 5 simple steps:
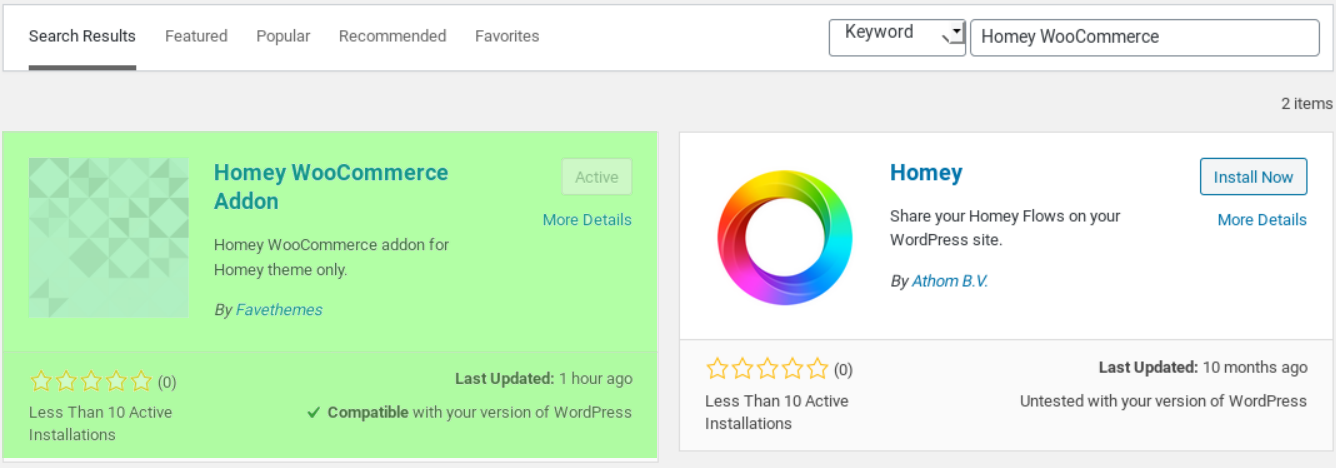
Step 1 – Install Homey WooCommerce Addon plugin
Navigate to WP Admin > Plugins > Add New Plugin and search for the “Homey WooCommerce Addon” plugin from within your website, install and activate
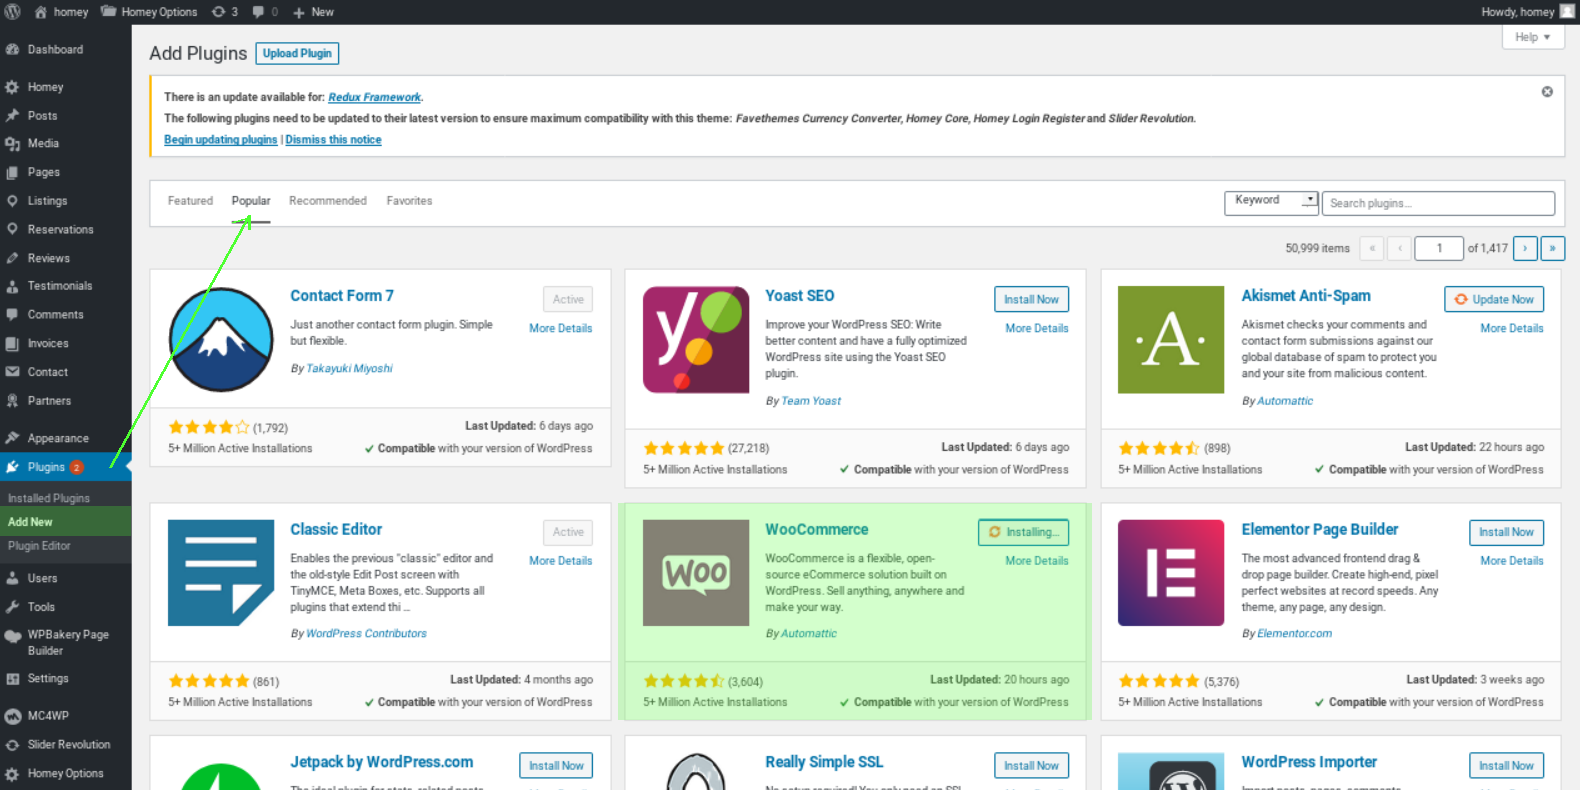
Step 2 – Install and activate WooCommerce
Search for the WooCommerce plugin from within your website
- Go to your website
- Go to: Dashboard > Plugins > Add New > Search Plugins
- Search for “WooCommerce”
- Install
- Activate
Note: If you do not get the plugin by this method, we also recommend looking for it in the Popular section, as displayed in the image below.
Step 3 – Enable WooCommerce in Homey Options
Navigate to Homey Options > Payment Gateways and select Woocommerce as displayed in the image below.
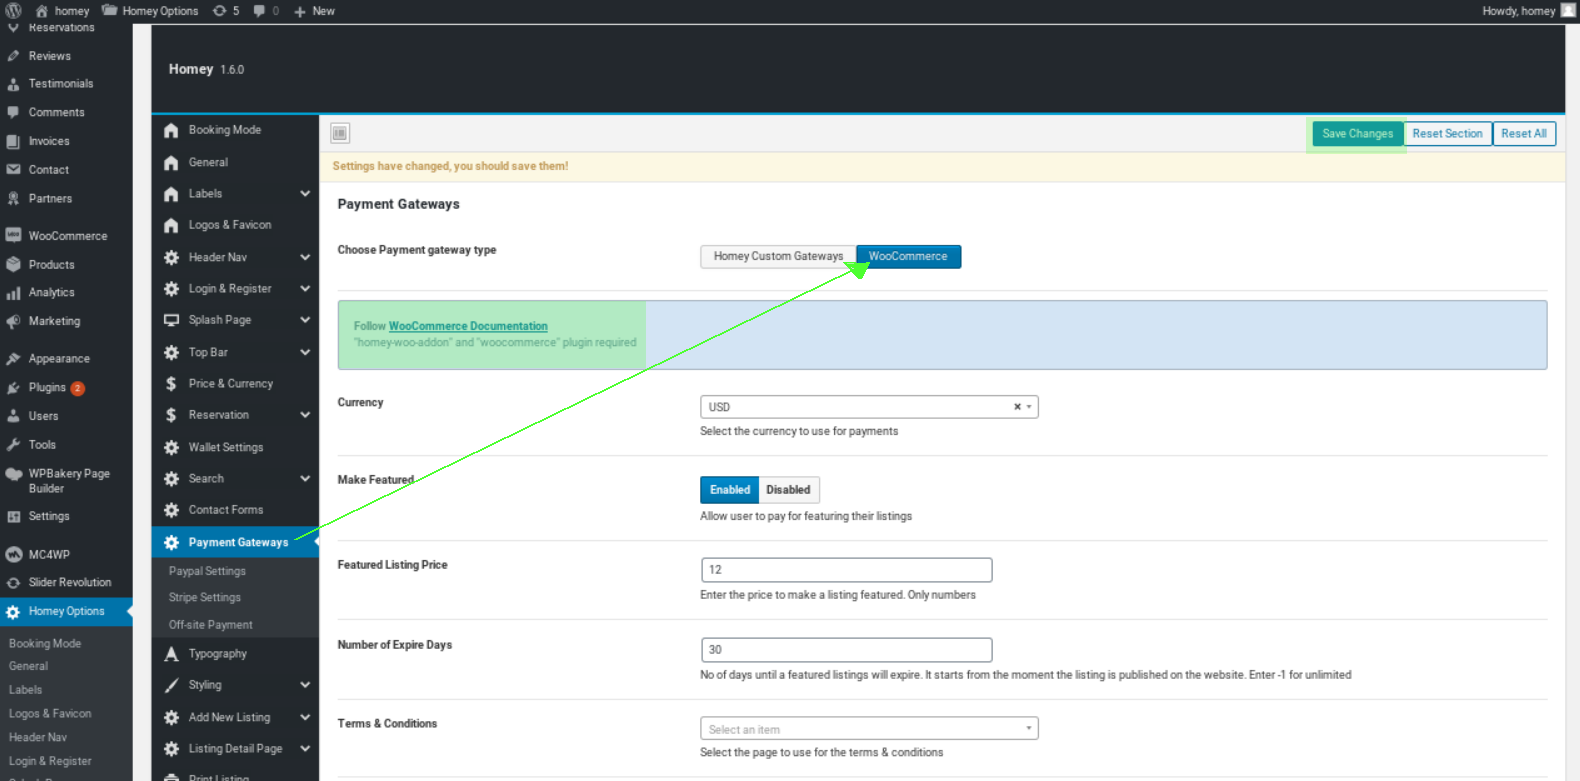
Once selected, save the changes. If you want to know more about WooCommerce, you can go to its documentation as indicated in the image
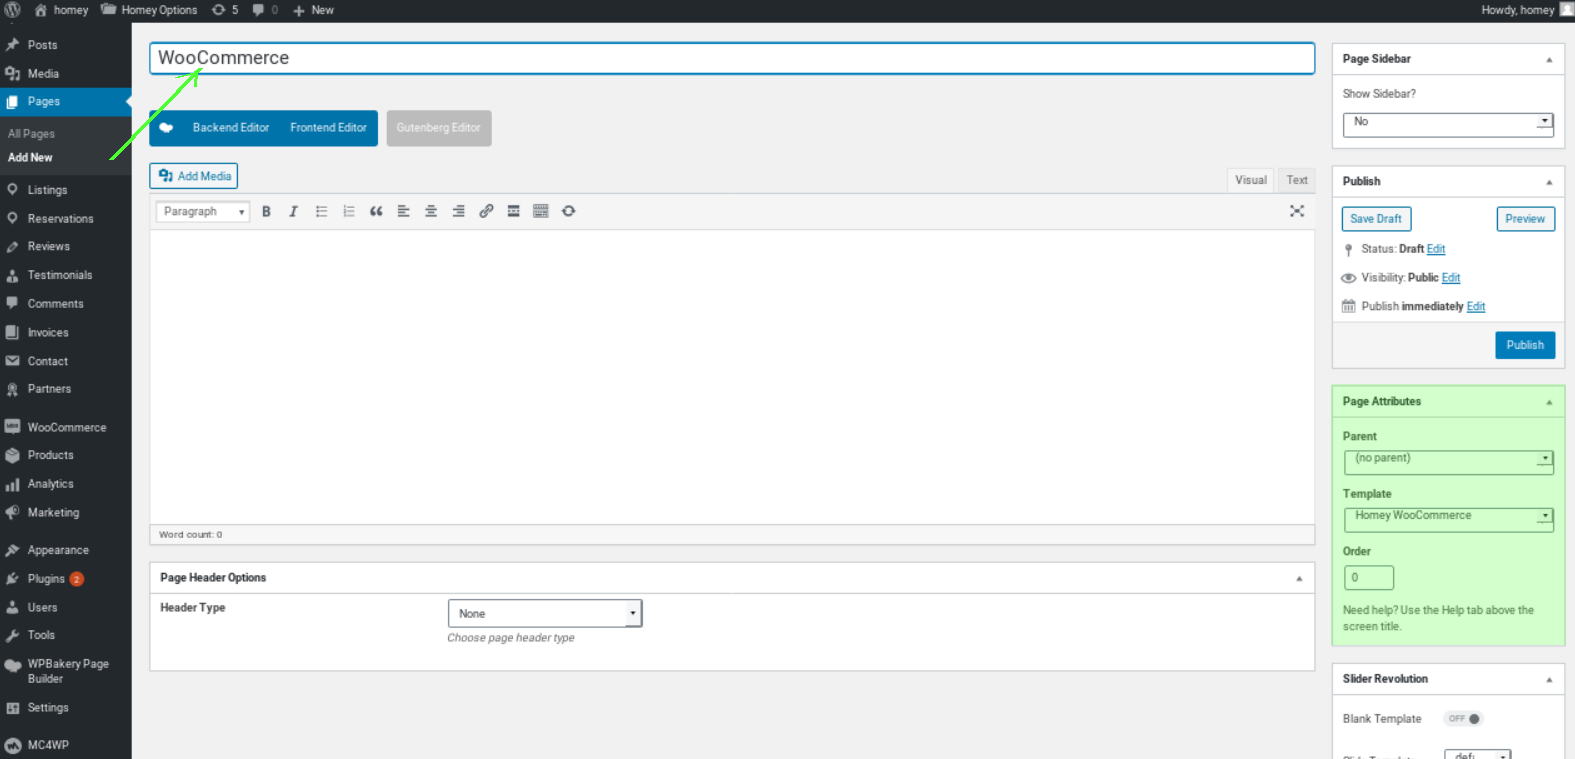
Step 4 – Add new Page WooCommerce
In-Page Attribute Select Template Homey WooCommerce
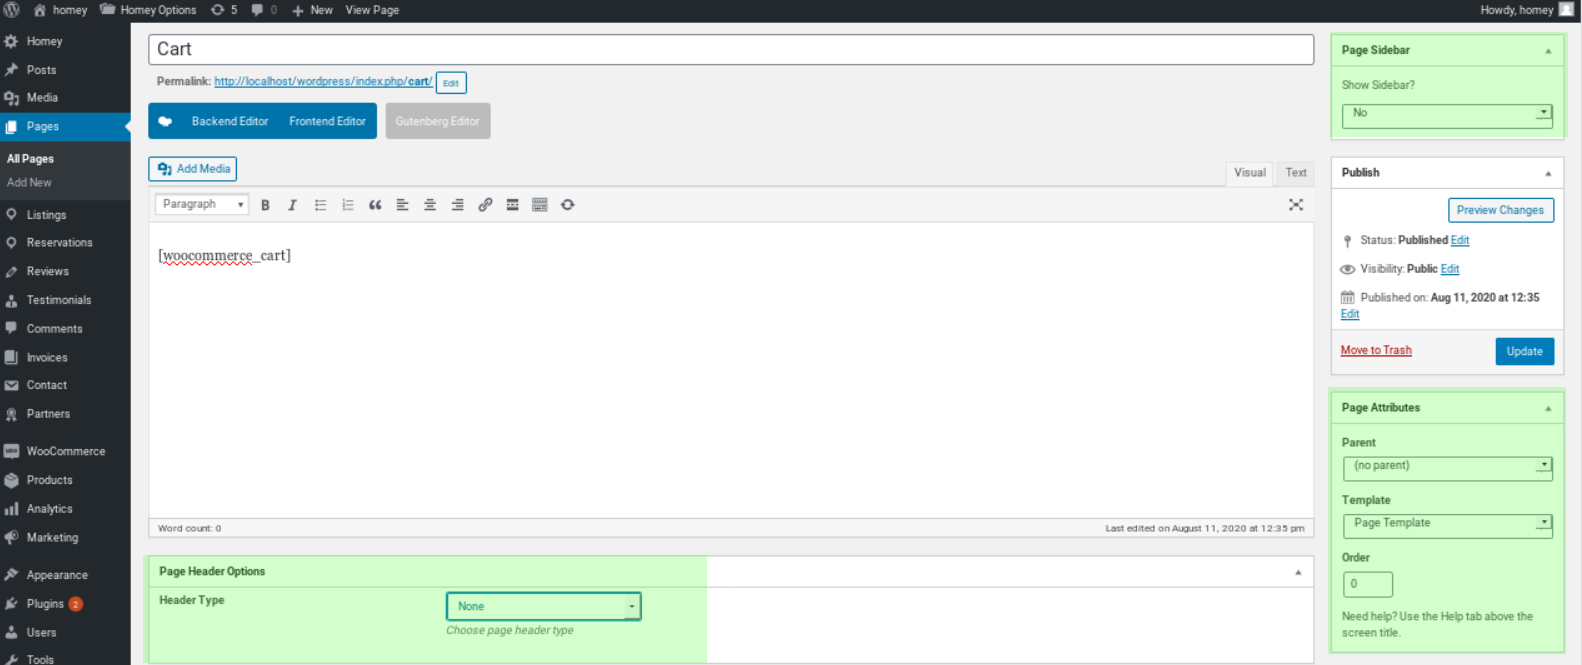
Step 5 – Edit Checkout, Cart
On your admin panel navigate to Pages and find the following pages (Checkout, Cart) as displayed in the image below.
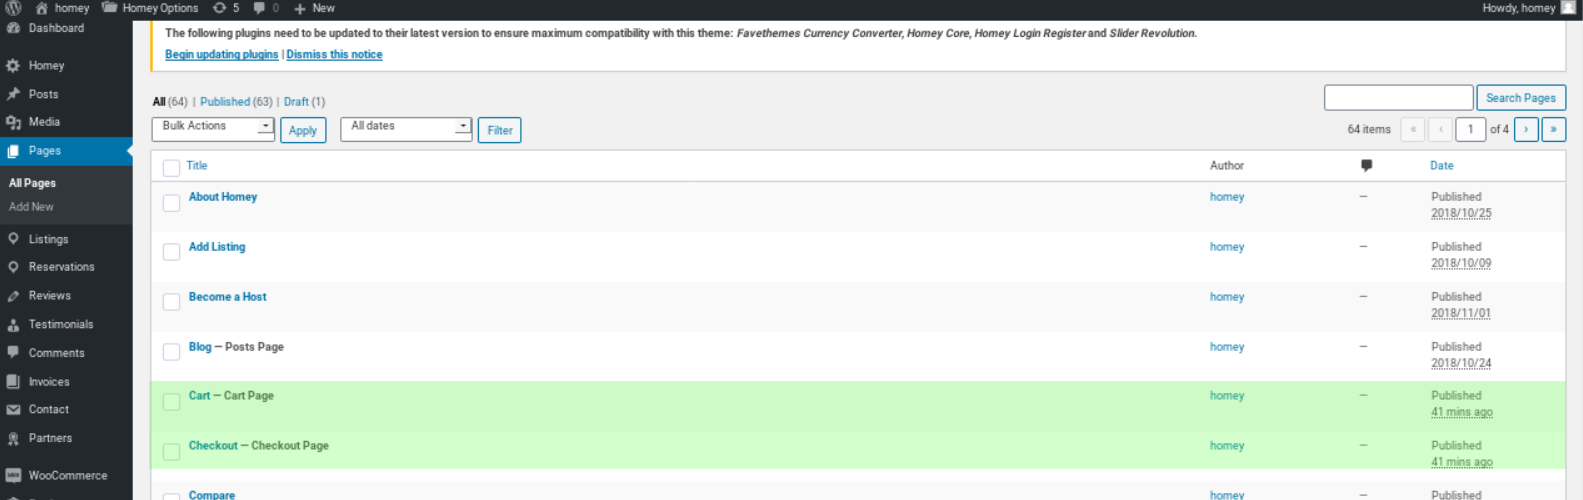
Edit each page and select the following option:
- Page attributes: Page template
- Page sidebar: None
- Header Type: Select the one you most want, in this example, it will be none