Listings are the most important sections of your website, and most likely you will set up several of them. There are different listing features to choose from, each serving a purpose to help you build a finished site. You can create any number of listings on your website. In this section, we are going to see how to create a full detailed listing page.
Homey can be used to list single rooms or even a full property. It’s at your choice and based on your business model. For example, you own a bed & breakfast and you rent every single room in your place separately, so you will create a listing for each room. Or you want to rent your full house so you will create a single listing that includes information about the whole place.
How to create a new listing
Navigate to Listings > Add New Listing in your left sidebar. The Property section in your admin panel is provided with the following areas displayed in the image below.
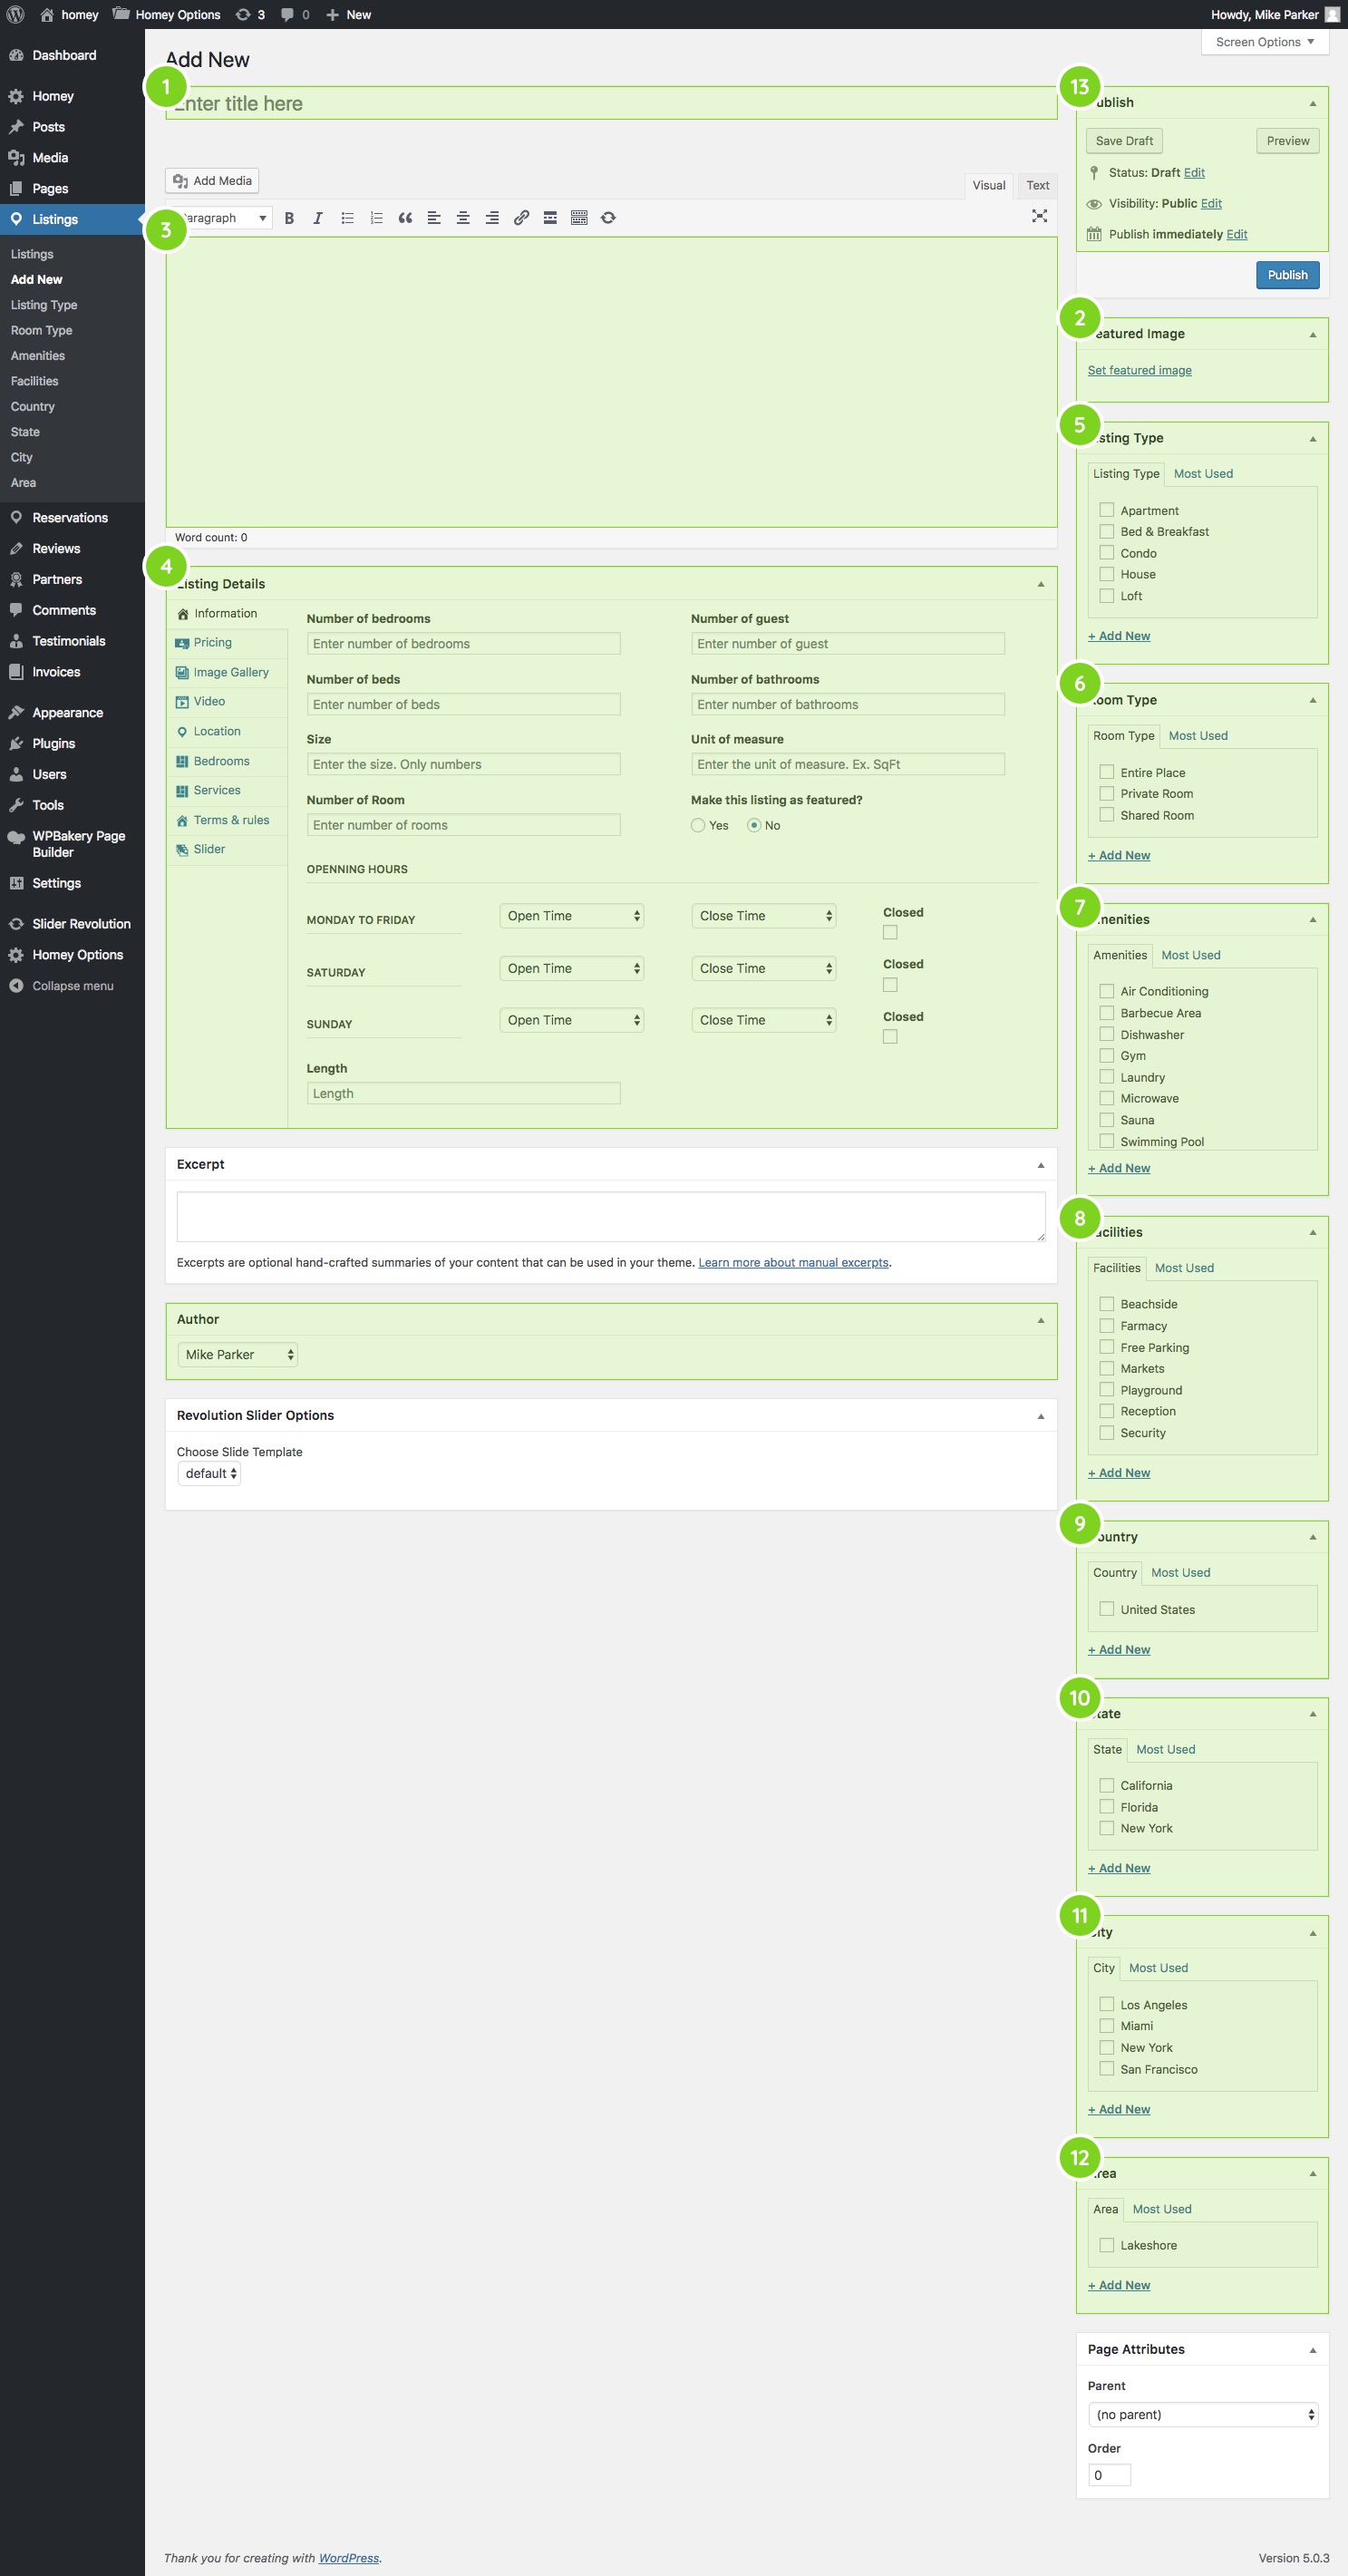
1. Listing title

Enter Title Here: Add a title name for your property
2. Featured Image
Locate the Featured Image box in your right sidebar. The Featured Image is a WordPress theme feature that allows you to upload the Cover Image of your property. This image will be displayed in listing pages, search result pages, Homey custom modules, etc.
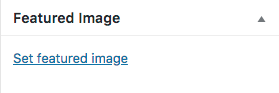
To add a featured image, simply click on the Set Featured Image link inside the featured image box displayed in the screenshot above. This will open the WordPress Media Uploader. You can use that to upload an image from your computer or use an existing image from your media library.
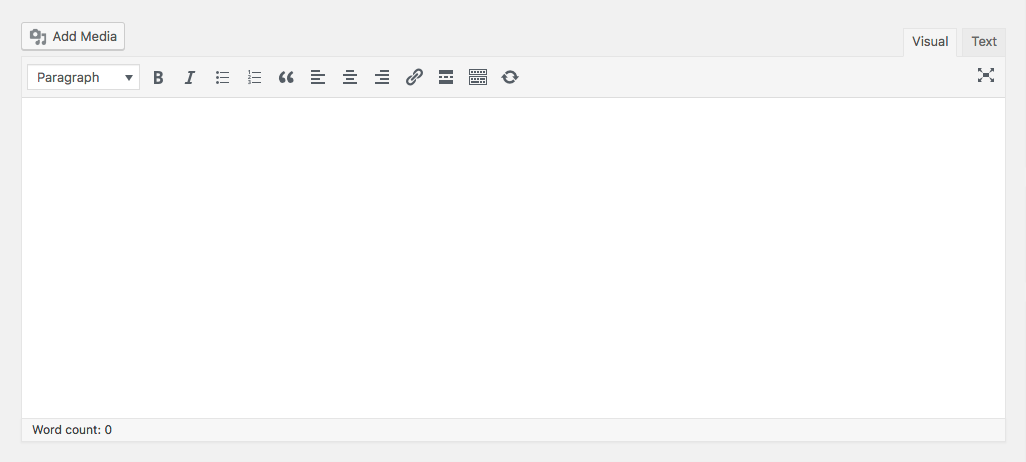
3. Listing Content
Locate the Visual Content Editor that allows you to easily create, edit, and format your property content in a view similar to that of a word processor. Use the content editor to enter all the property description content.
4. Listing Details
This panel is the core of the listing creating page. Homey has a complete Listing Details panel where to setup all listing extra information and settings. This panel is located on the Listing Page and contains different tabs that we are going to explain in this section.
Information
Locate the Information tab in the Property Panel to add all data like sale price, area size, number of beds, etc.
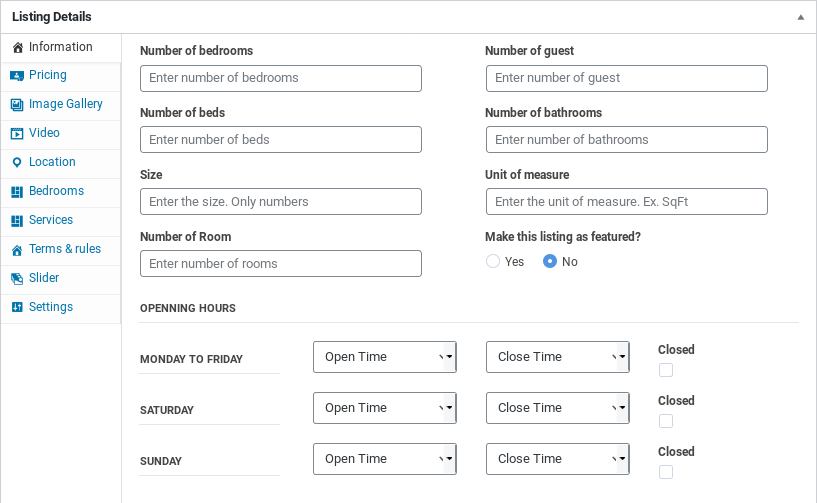
- Number of bedrooms: Enter the number of bedrooms
- Number of beds: Enter the number of beds
- Number of guests: Enter the number of guests
- Number of bathrooms: Enter the number of bathrooms
- Size: Enter the size of the single room or full place at your choice (Only numbers)
- Unit of measure: Enter the size unit of measure. For example SqFt
- Number of room
- Make this listing featured? Select yes or not if you want to feature the listing
- Opening hours: This option is mostly used for commercial listings like offices, stores, etc. If your business is based on residential you can ignore it.
Pricing
Locate the Pricing tab in the Listing Details panel to add all the information about prices.
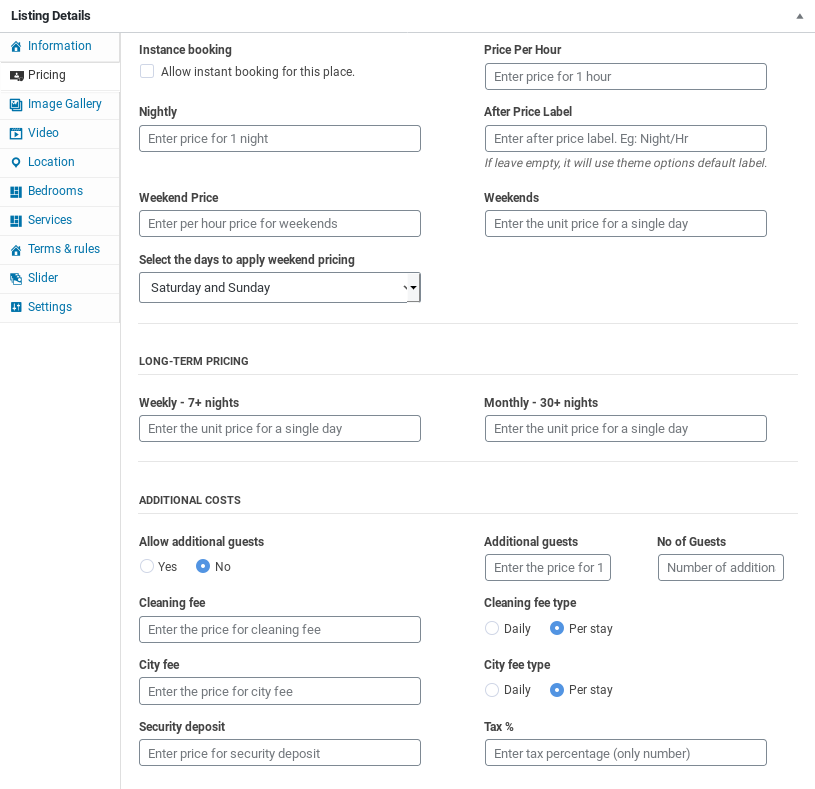
- Instant booking: check this option if you want to allow instant booking for this place
- Prices
- Price Per Hour: enter the price for 1 hour
- Nightly: enter the price for 1 night
- After Price Label: enter the after price label. For instance /hr
- Weekend price: enter per hour price for weekends
- Weekends: enter the price for 1 night during the weekend time
- Select the days to apply weekend pricing: select from the drop-down menu on which days you want to apply the weekend price
- Long-term Pricing
- Weekly – 7+ nights: enter the price for 1 night
- Monthly – 30+ nights: enter the price for 1 night
- Addition Costs
- Allow additional guests: select Yes or No
- Additional guests: enter the price for 1 additional guest
- No of Guests: Number of addition
- Cleaning fee: enter the cleaning fee price
- Cleaning fee type: select if the cleaning price has to be calculated daily or per stay
- City fee: enter the city fee price
- City fee type: select if the city fee price has to be calculated daily or per stay
- Security deposit: enter the security deposit price
- Tax %: enter the percentage tax to apply on the listing (only number)
Image Gallery
Locate the Image Gallery tab in the Listing Details panel to upload the listing gallery images.
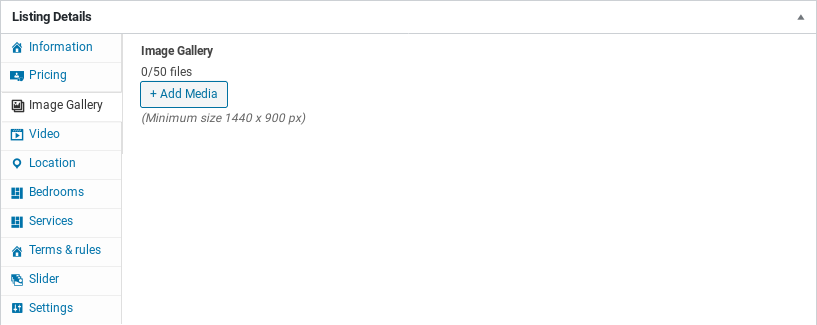
- Images Uploader: Click on + Add Media button inside the Property Gallery box displayed in the screenshot above. This will open the WordPress Media Uploader. You can use that to upload an image from your computer or use an existing image from your media library.
- After having uploaded your images then you can re-order with a simple drag and drop.
Video
Locate the Video tab in the Listing Details panel to upload a listing video.
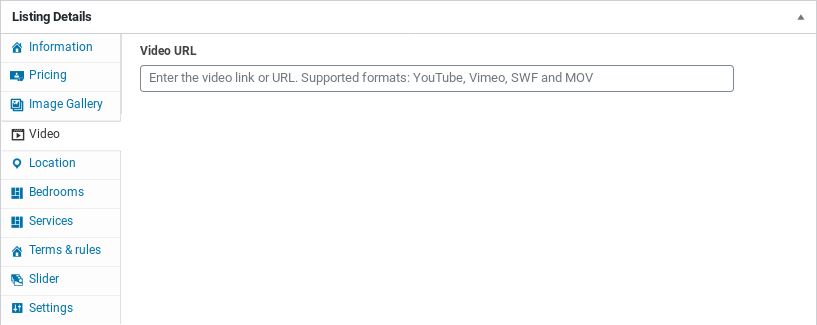
- Video URL: Insert a video URL. YouTube, Vimeo, SWF File, and MOV File are supported.
Location
Locate the Location tab in the Listing Details panel to add all listing address information.
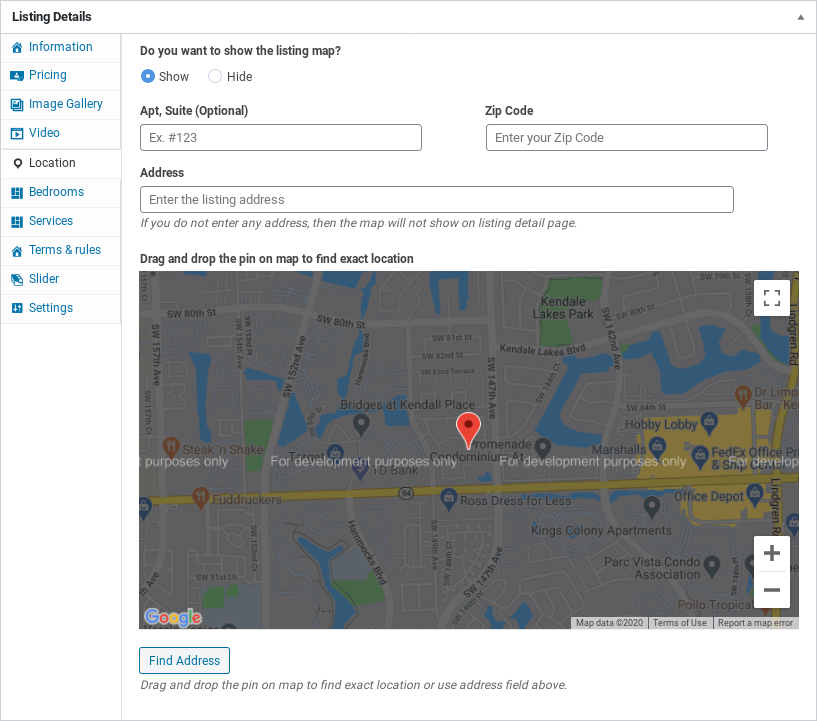
- Do you want to show the listing map?: Select if you want to show or hide the map on the property page
- Apt, Suite (Optional): optionally you can input the listing suite or apartment number
- Zip Code: Enter your Zip Code
- Address: Insert the listing address. As soon as you start typing the address the system will suggest the full formatted address. Homey keeps this information from the Google Map database.
Bedrooms
Locate the Bedrooms tab in the Listing Details panel. This tab is needed to add all information regarding your accommodation of every single room.
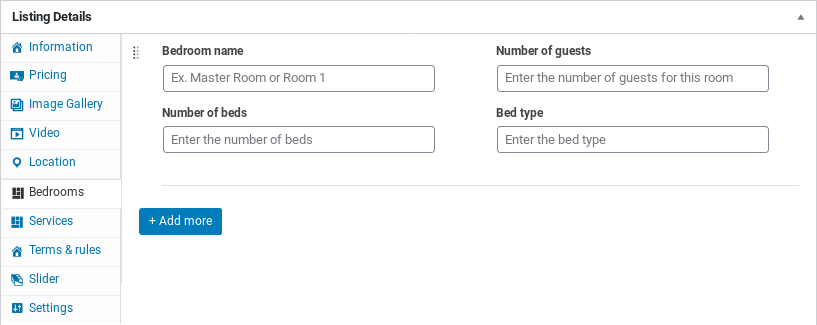
- Bedroom name: enter the bedroom name, for example, Master Bedroom
- Number of guests: enter the number of guests that the room can hold
- Number of beds: enter the number of guests that the room can accommodate
- Bed type: enter the bed type. for example King Size
If you are listing and renting a full house, use the + Add more button to add all other bedrooms available in your place.
Services
Locate the Services tab in the Listing Details panel. This tab can be used for example if you provide meals to your guest, or if you are listing a commercial property (an office for example) to list the rental prices for your amenities.
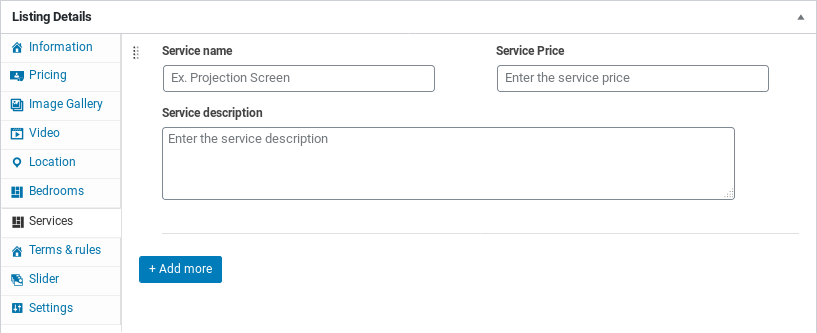
- Service name: enter the service name, for example, Dinner
- Service Price: enter the service price
- Service description: enter the service description
Click the + Add more button to add more services
Terms & Rules
Locate the Terms & Rules tab in the Listing Details panel.
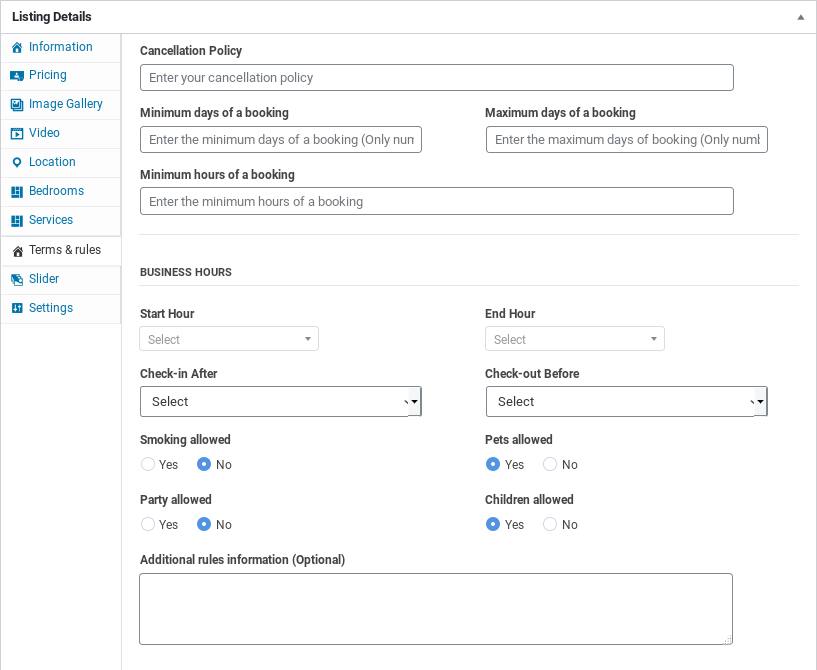
- Cancellation Policy: enter your cancellation policy
- Minimum days of booking: enter the minimum day of booking (only numbers)
- Maximum days of booking: enter the maximum day of booking (only numbers)
- Minimum hours of booking: enter the minimum hours of a booking
BUSINESS HOURS
- Start Hour: Select the arrival time
- End Hour: Select the departure time
- Check-in After: select the time
- Check-out Before: select the time
- Smoking allowed: select Yes or No
- Pets allowed: select Yes or No
- Party allowed: select Yes or No
- Children allowed: select Yes or No
- Additional rules information (Optional): enter additional rules description
Slider
Locate the Property Slider tab in the Listing Details panel.
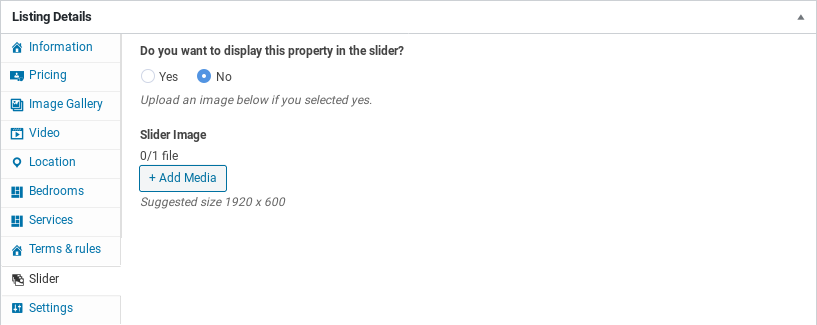
- Do you want to display this property in the slider? If you select Yes, this property will be displayed in the custom Homey Slider
- Slider Image: Select the image that will be used as a slider image. The recommended image size is 1920 x 600px. You can use bigger and smaller images but keep the same height to width ratio. Use the same size for all images of the properties you want to add to the slider.
Settings
Here you can show a form next to your listing, it can be Contact or Booking
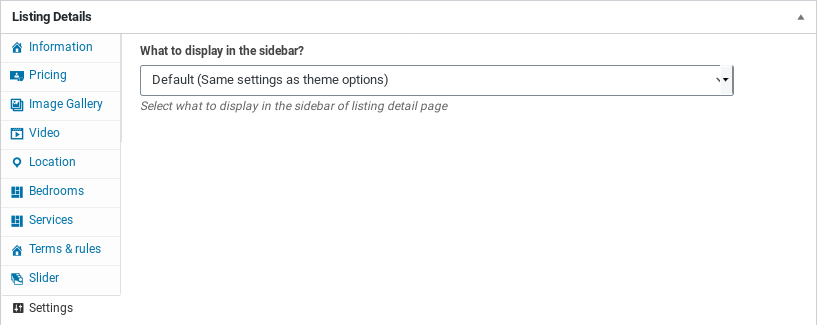
In What to display in the sidebar? Select what to display in the sidebar of listing detail page
- Contact Form
- Booking Form
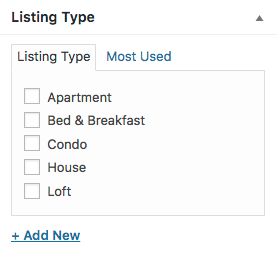
5. Listing Type
Locate the Listing Type box on the right sidebar. Select the property type that represents the property. View how to manage the Listing Type.
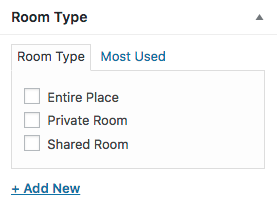
6. Room Type
Locate the Room Type box on the right sidebar. Select the property type that represents the property. View how to manage Room Type.
7. Amenities
Locate the Amenities box on the right sidebar. Select the property status. View how to manage the Amenities.

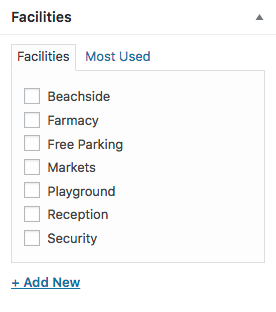
8. Facilities
Locate the Facilities box on the right sidebar. Select the property status. View how to manage the Facilities.
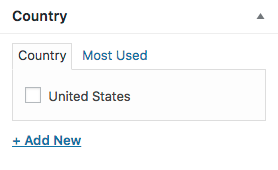
9. Country
Locate the Country box on the right sidebar. Select the property status. View how to manage the Country.
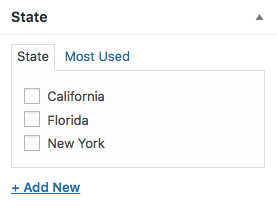
10. State
Locate the State box on the right sidebar. Select the property status. View how to manage the State.
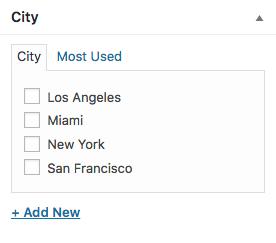
11. City
Locate the City box on the right sidebar. Select the property status. View how to manage the City.
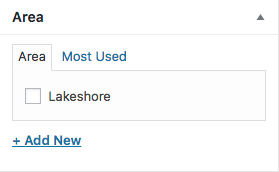
12. Area (Neighborhood)
Locate the Area box on the right sidebar. Select the property status. View how to manage the Area.
13. Author
Locate the Author box on the page content. Use the box below to Assign the listing to a host user

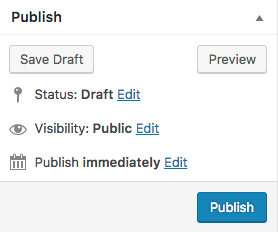
14. Publish
Locate the Publish box on the right sidebar. Use the box below to publish the property, save as draft or preview changes.