In Homey the information about the location of the property is hierarchically organized like this: Country > States > City > Area.
This information is necessary if you want to publish your properties from the backend and if the administrator doesn’t want that users add their own city, Neighborhood, etc. and only want them to use pre-defined information.
For a proper workflow of building your website, we suggest you to start creating the Country
How to add a Country
Navigate to Listings > Country in your left sidebar.
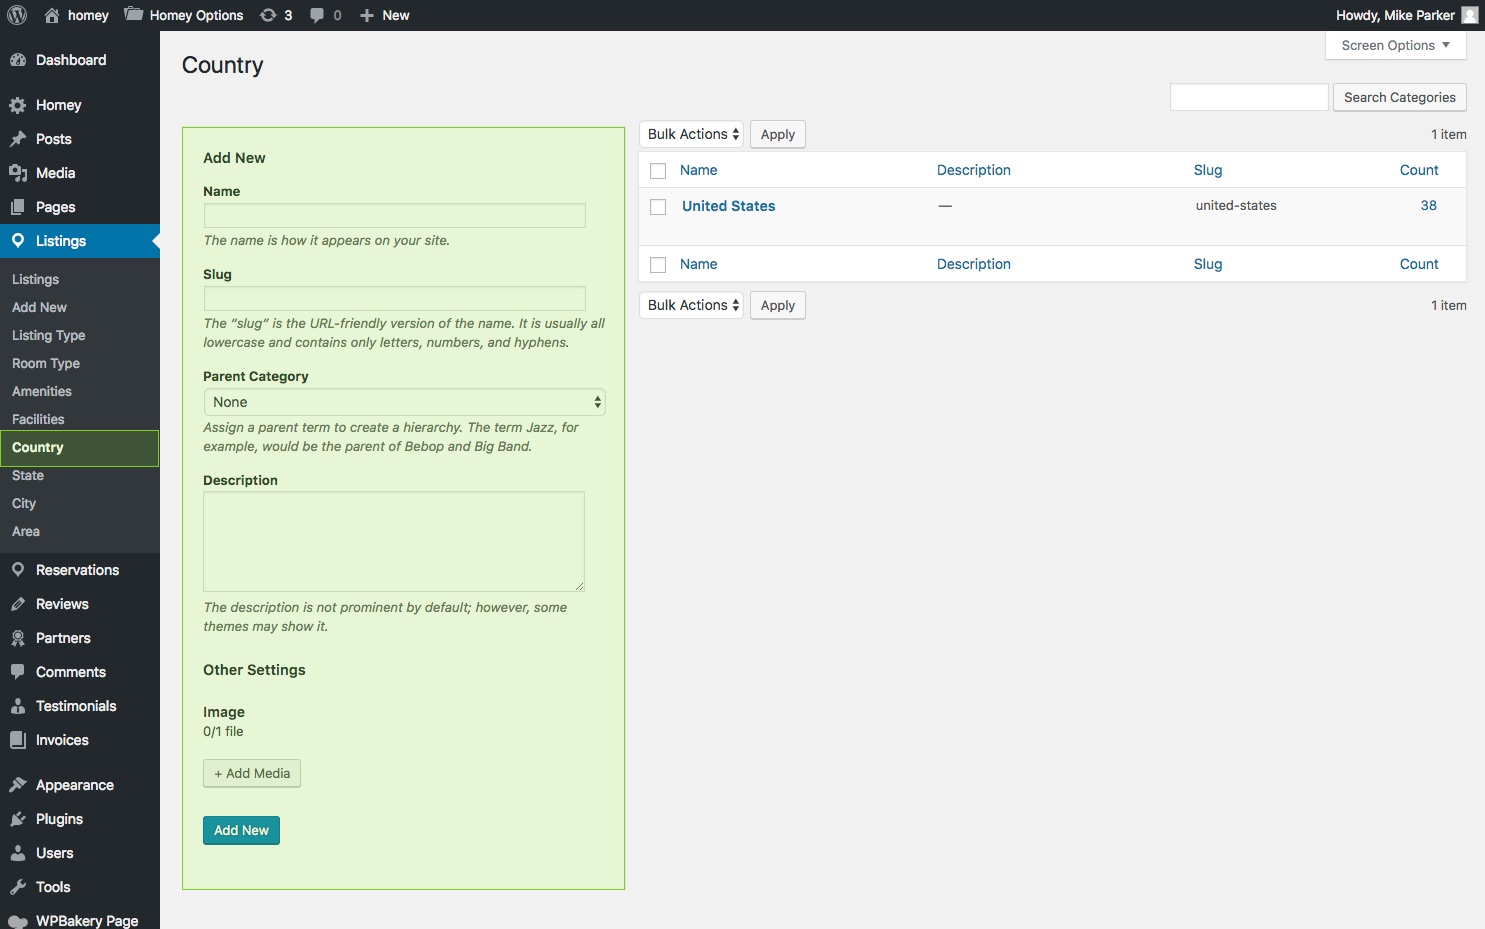
- Name: insert the name for your property Country like “The United States” or “Europe” for example.
- Slug: The “slug” is the URL-friendly version of the name. It is usually all lowercase and contains only letters, numbers, and hyphens. (optional)
- Parent Category: you can ignore this setting
- Image: Upload an image that represents this Country
- Click on Add New
How to add a States
Navigate to Listings > State in your left sidebar.

- Name: insert the name for your property State like “Florida” for example.
- Slug: The “slug” is the URL-friendly version of the name. It is usually all lowercase and contains only letters, numbers, and hyphens (optional)
- Parent Category: you can ignore this setting
- Which country has this state? Select the country for this State. You will select the United States if your property State is Florida
- Image: Upload an image that represents this Country/State
- Click on Add New
How to add a City
Once you added all the States related to your properties it’s time to add Cities.
Navigate to Listings > City in your left sidebar.
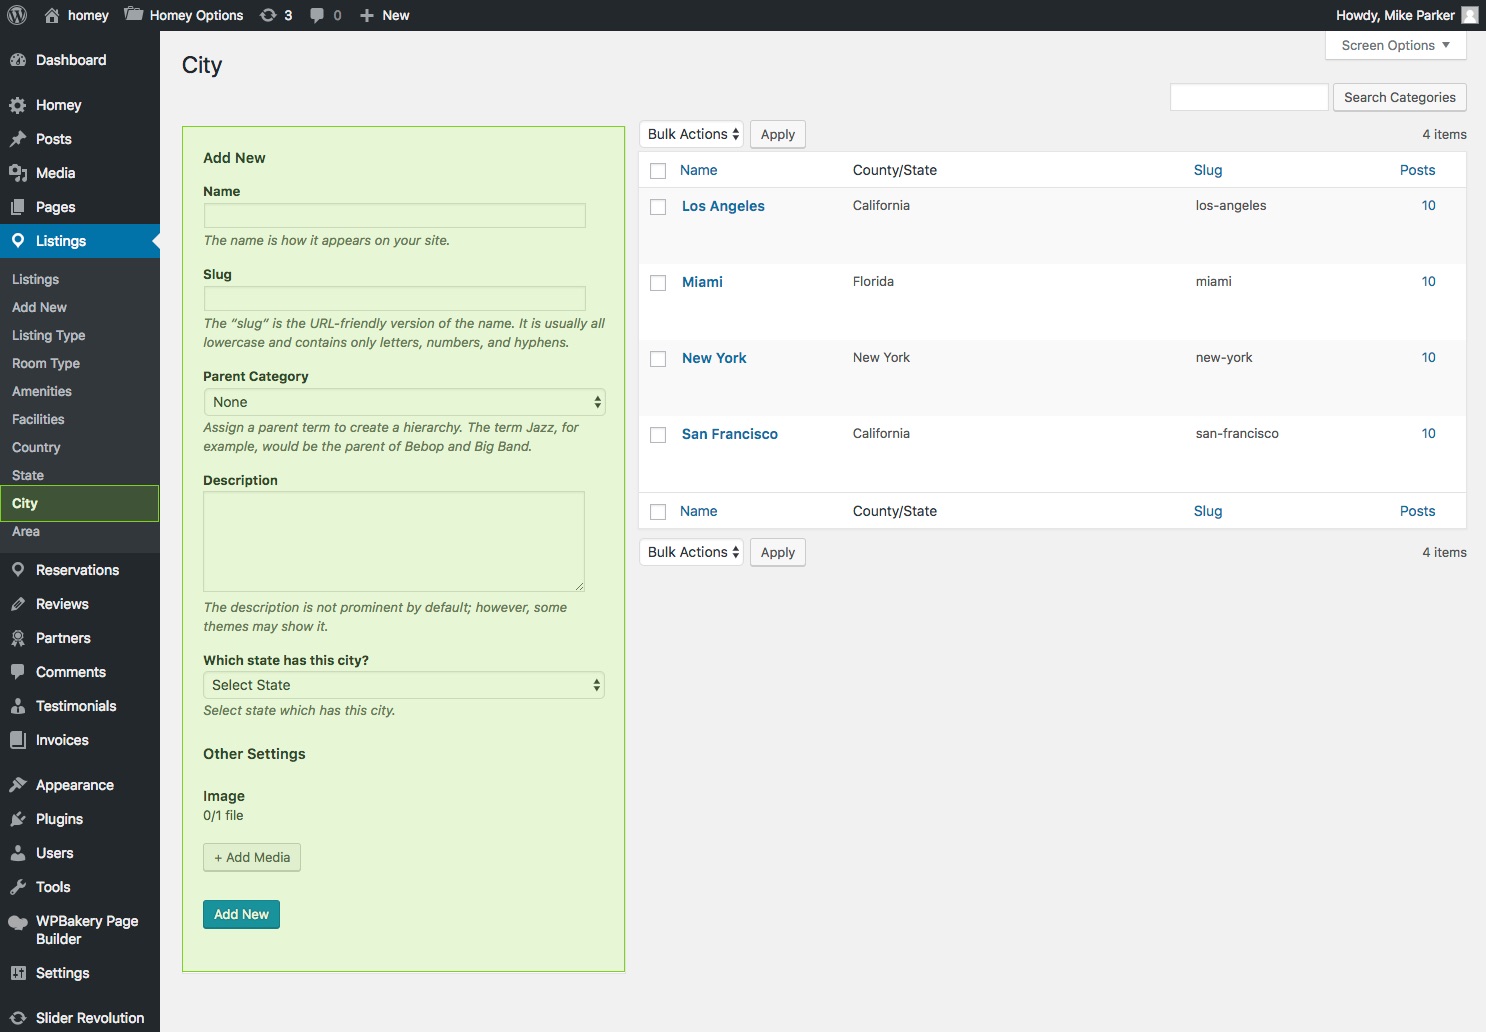
- Name: insert the name for your property city like “Miami” for example.
- Slug: The “slug” is the URL-friendly version of the name. It is usually all lowercase and contains only letters, numbers, and hyphens (optional)
- Parent Category: you can ignore this setting
- Which state has this city? Select the state for this city. You will select California if your property City is Los Angeles
- Image: Upload an image that represents this city
- Click on Add New City
How to add an Area (Neighborhood)
Once you added all the Cities related to your properties it’s time to add Neighborhoods.
Navigate to Listings > Area in your left sidebar.
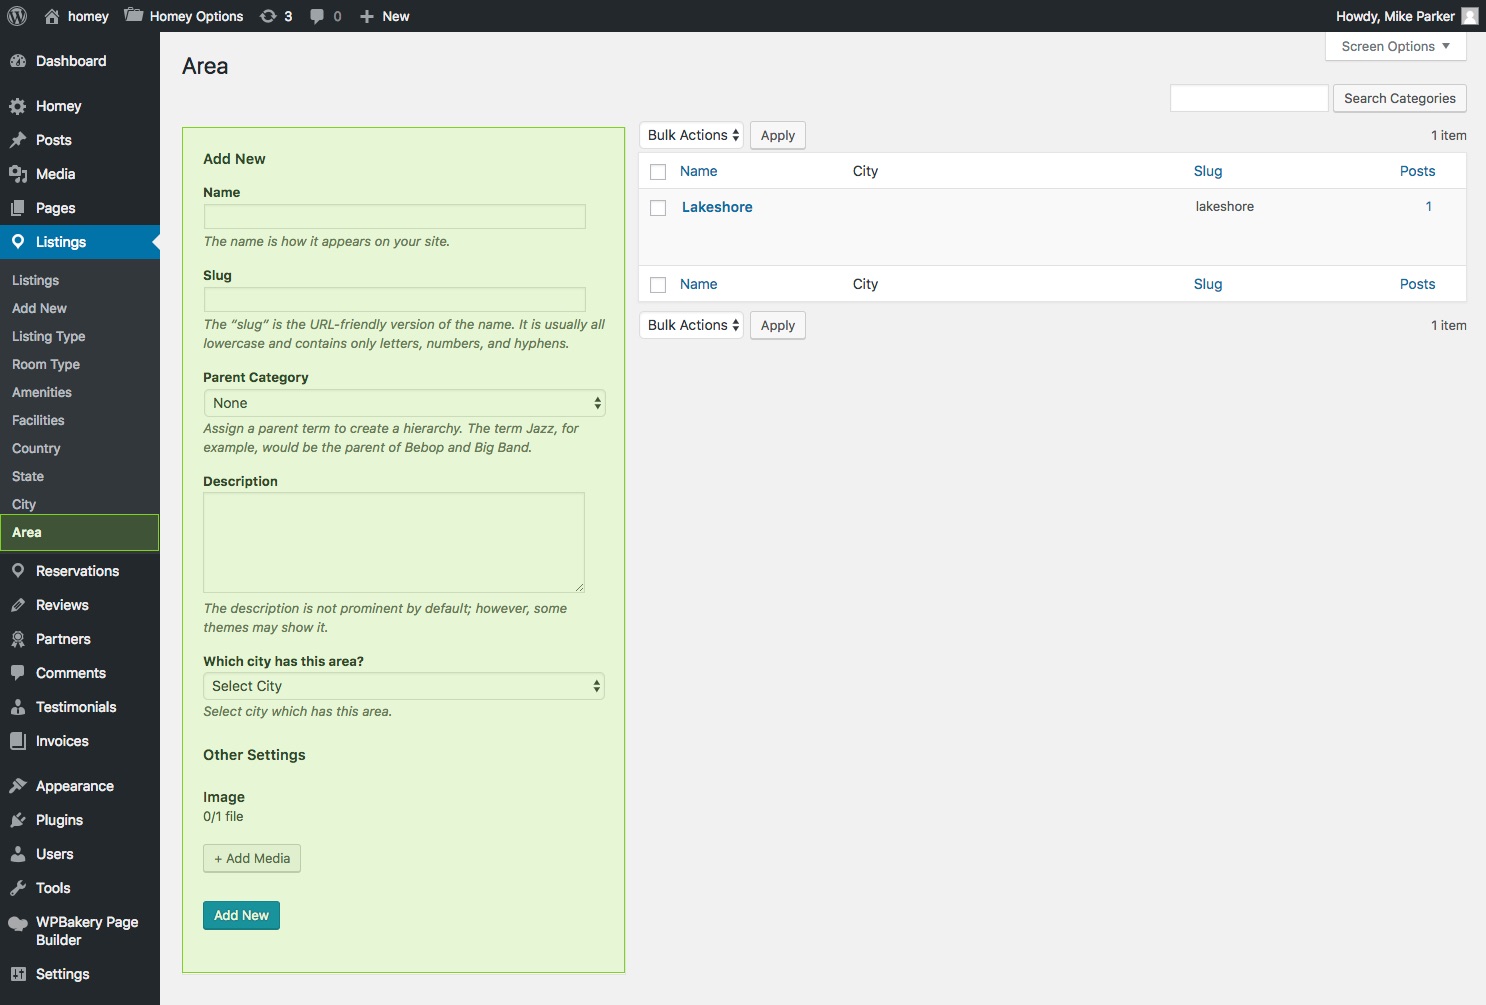
- Name: insert the name for your property Country/State like “Florida” for example.
- Slug: The “slug” is the URL-friendly version of the name. It is usually all lowercase and contains only letters, numbers, and hyphens (optional)
- Parent Category: you can ignore this setting
- Which City has this area? Select the City for this area.
- Image: Upload an image that represents this area
- Click on Add New